1
Create your account
Takes 30 seconds. We'll send a confirmation email — click the link, and you're in.
Step 1
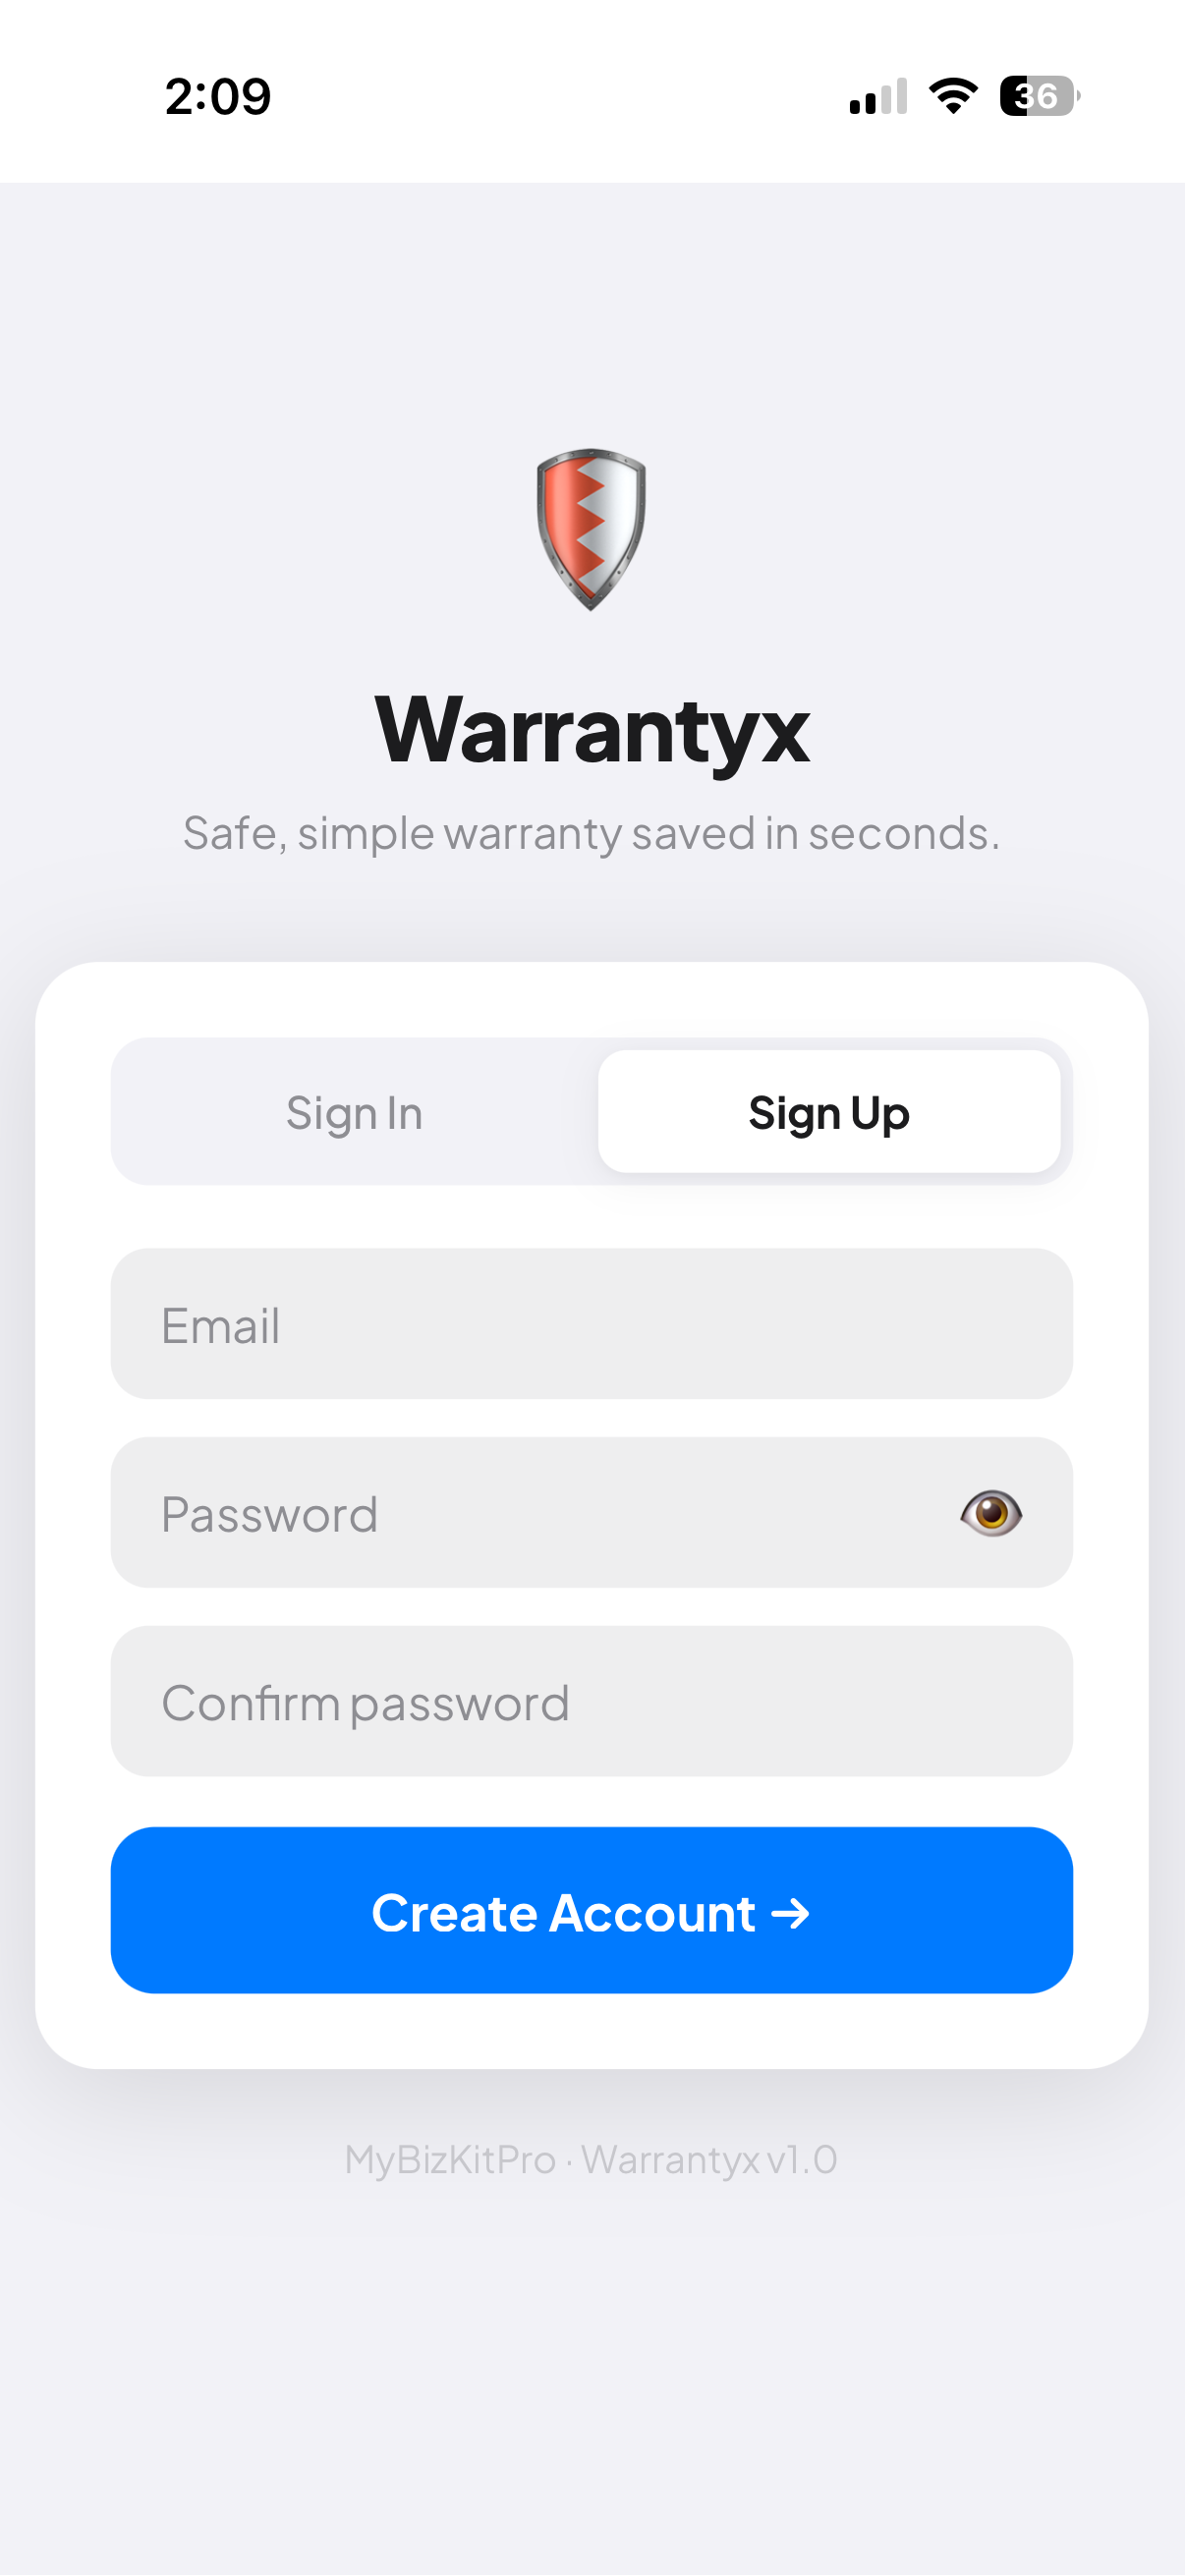
Sign Up
Open warrantyx.mybizkitpro.com and tap Sign Up. Email and password — that's it.
Step 2
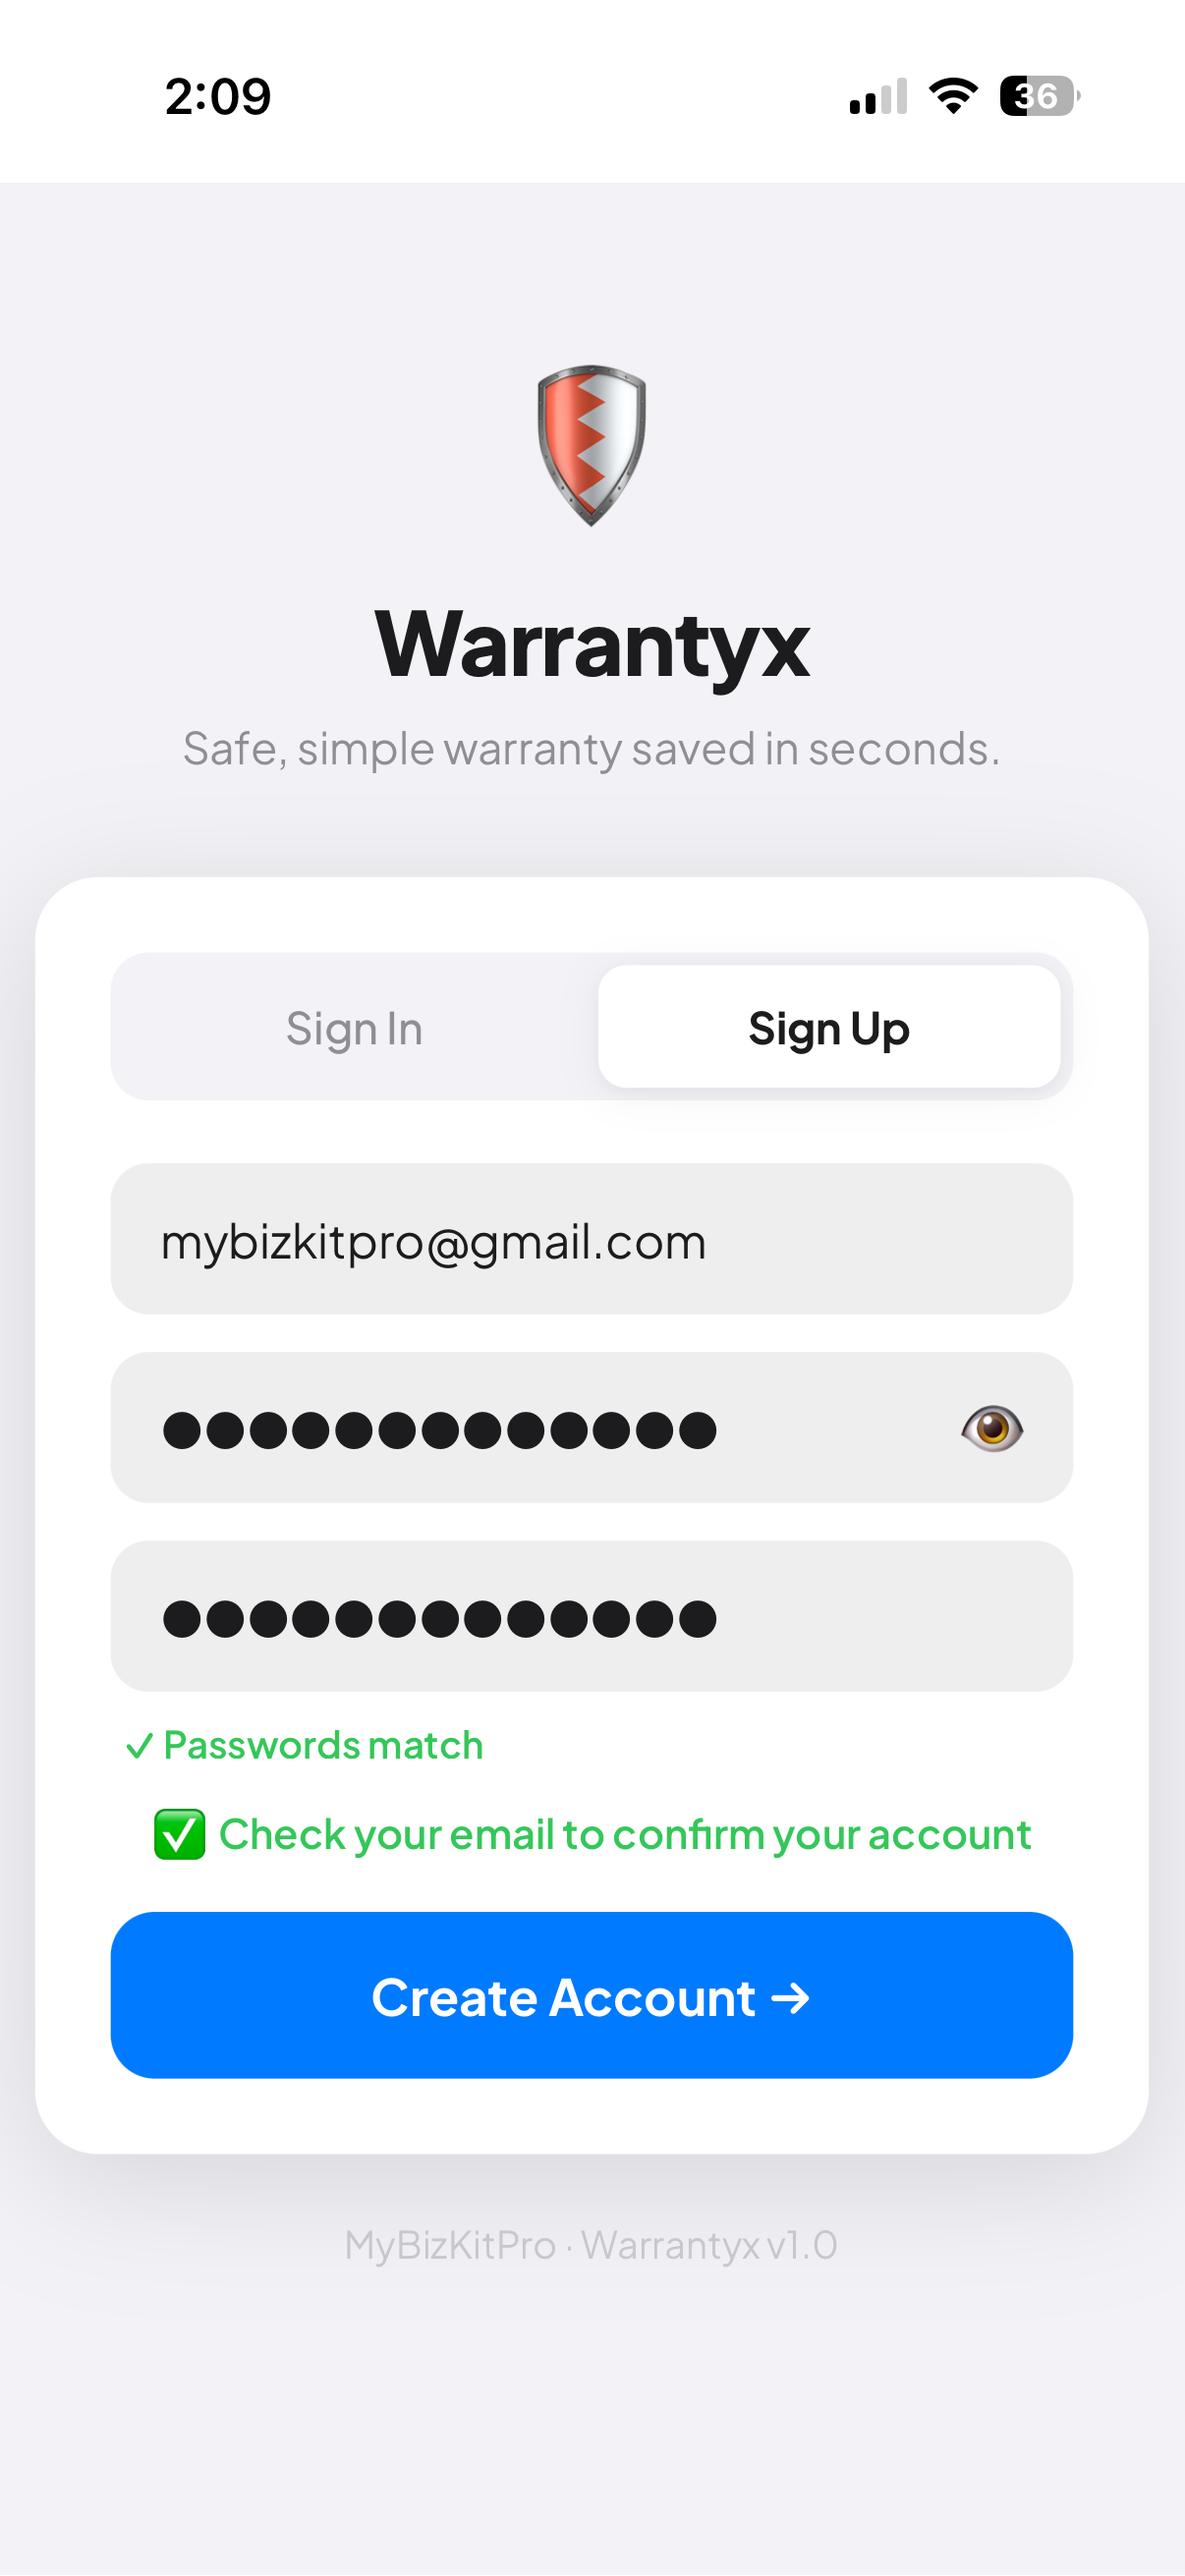
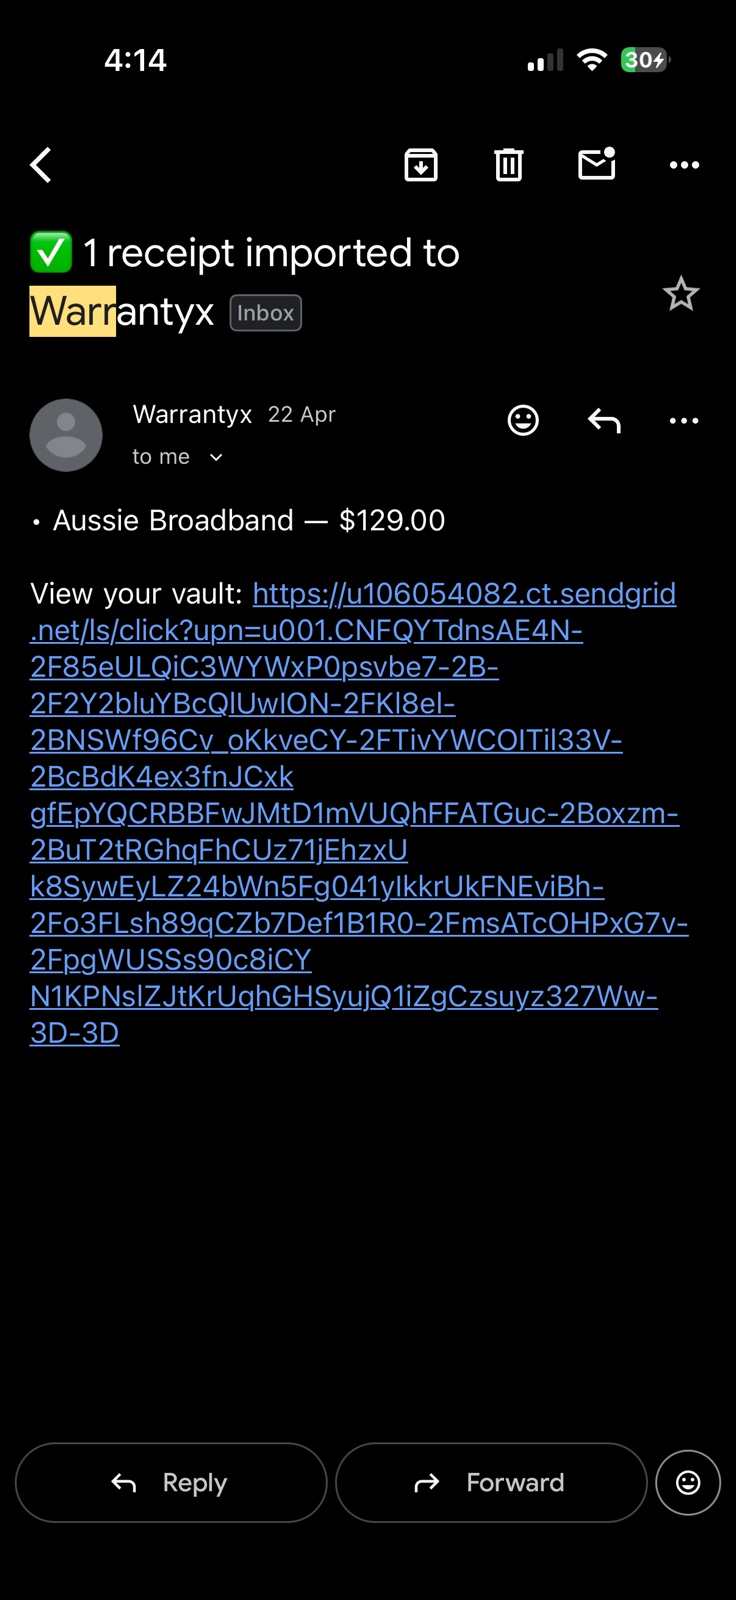
Confirm your email
Check your inbox for a confirmation link. The app shows a green check while you wait.
Step 3
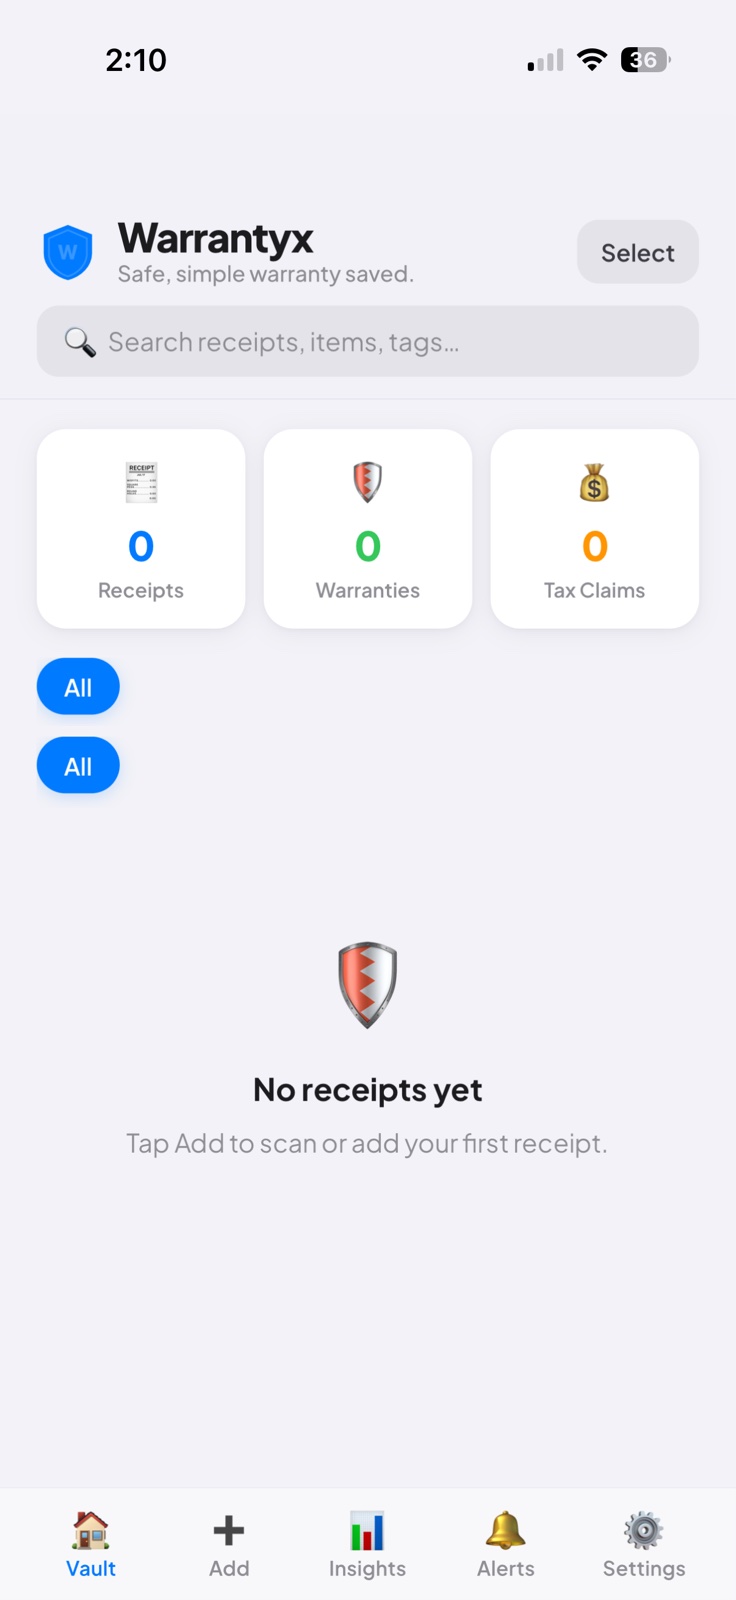
You're in
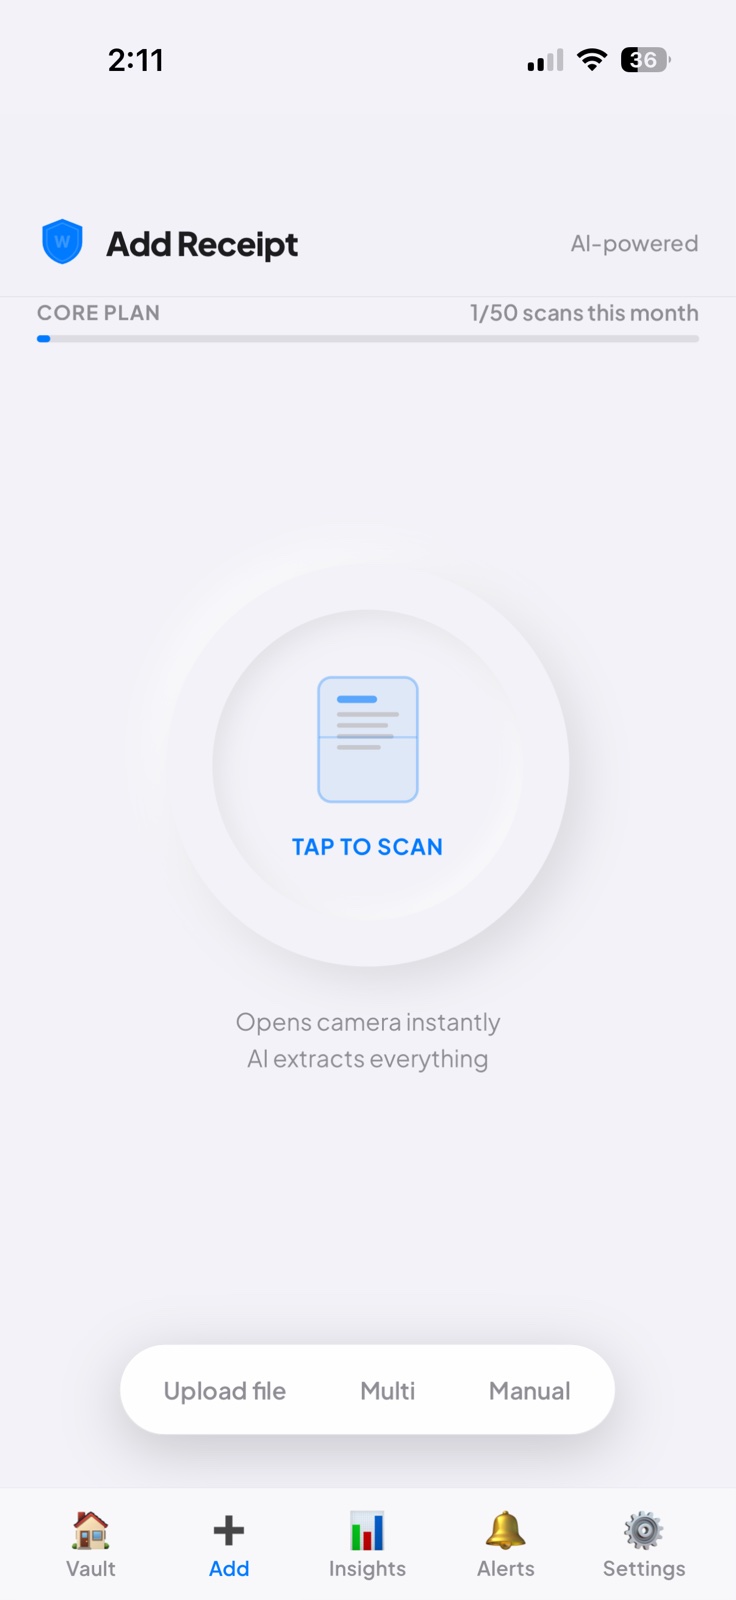
Land in your empty vault. Receipts, warranties, and tax claims will fill in as you scan.
Tip: No confirmation email? Check Spam/Junk and mark it Not Spam — future emails will land in your inbox.